In this article I will show you how to work with R-studio in your web browser thanks to Docker.
If you’ve read my other article about data science Docker containers, this will seem very similar. If you haven’t, I suggest you to read it before because I won’t explain in detail the operation.
1) Files
We will first create a folder, we will call it “r_studio”, within which we will put all our Docker files.
a) Dockerfile
Our Dockerfile will define the source image, the working directory (change “user” with your name or whatever you want) and the packages we want to use with R. You can set all the packages you want, just remind to set a backslash after every package, except the last one.
Note : if you install your packages inside R-studio, you will have to reinstall them manually every time your re-start the container. It’s why we define them here.
FROM rocker/rstudio

WORKDIR /home/rstudio/user

# Install R packages
RUN install2.r --error \
    methods \
    jsonlite \
    tseries
Modify this file to your conveniences and then save it as “Dockerfile”
b) Docker-compose
We will now define our docker-compose file. This will contain how the container should be created:
version : "3.8"

services:
  r:
    build:
      context: .
      dockerfile: "Dockerfile"
    volumes:
      - /yourpath/r_studio/files:/home/rstudio
    ports:
      - 8787:8787
    env_file:
      - dev.env
We create a “r” service that will be build with our files. We also point the working directory to a “files” folder inside our “r_studio” folder, it’s where we will save our data. Like my other article, you can change the local port on your computer to whatever you like.
Modify the volume path and then save this file as “docker-compose.yml”.
c) Environment file
In this file we will decide if we set an authentification. If it’s not necessary for you, this file will contain one variable to disable the authentification :
DISABLE_AUTH=true
If you want to use a password, you should set the environment variables as shown and change “pass” to the password you wish:
DISABLE_AUTH=false
PASSWORD="pass"
To connect to R-studio, you will use “rstudio” as username and “pass” (in this case) as password.
Finally, save this file as “dev.env”.
d) Makefile
As said in my other article, you’ll need to have “make” installed to use this file:
build:
	docker-compose build
stop:
	docker-compose down
run:
	docker-compose up -d
clean:
	docker image prune -f
interactive_run:
	docker-compose run data bash
interactive_exec:
	docker-compose exec data bash
This file contains almost the same commands as for the data science container. You should save it as “Makefile”.
2) Launch the container and access to R-studio
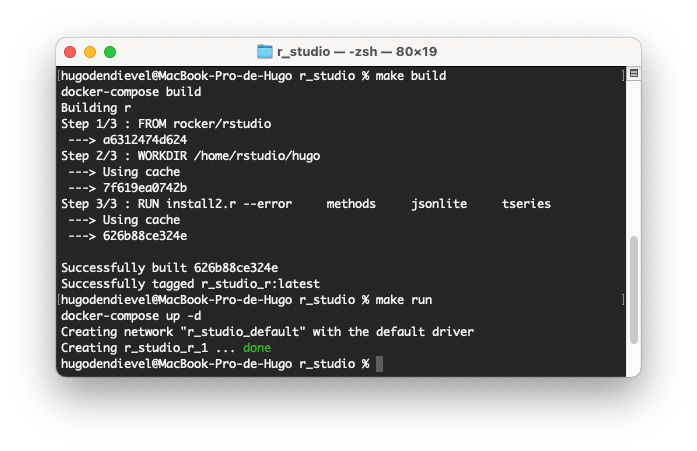
With all the files in our folder, we can open a terminal window and navigate to the folder “r_studio”. You can build the image with “make build” and then run it with “make run”:

R-studio is now accessible in your browser at http://localhost:8787/ ! You can stop it with “make stop” and re-launch it every time you need it.
References: